Bissell MOMENTUM CYCLONIC Guide de l'utilisateur
Naviguer en ligne ou télécharger Guide de l'utilisateur pour Aspirateurs Bissell MOMENTUM CYCLONIC. Bissell MOMENTUM CYCLONIC User`s guide Manuel d'utilisatio
- Page / 20
- Table des matières
- MARQUE LIVRES
Résumé du contenu
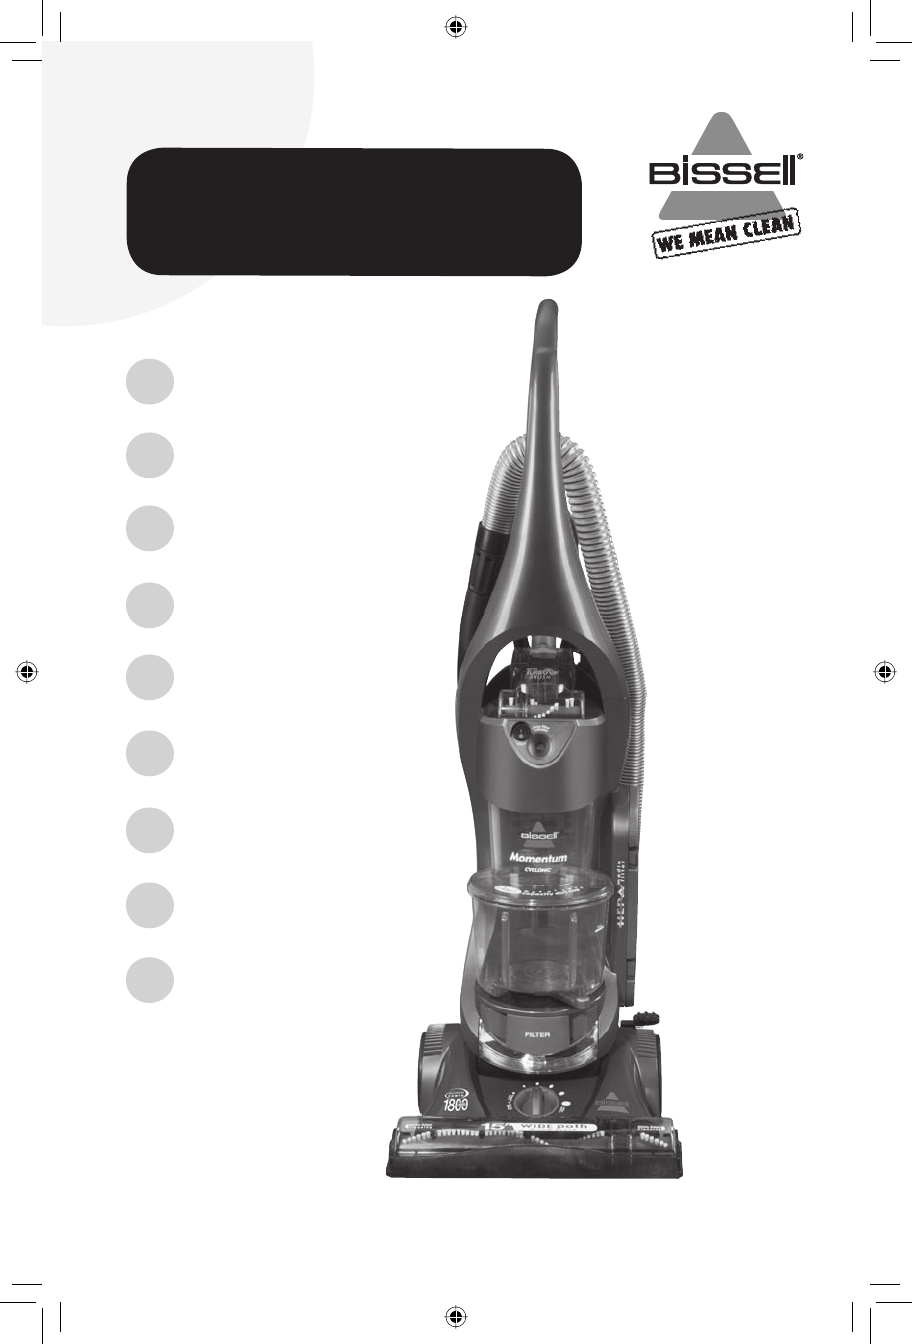
USER’S GUIDE3910 SERIES 220-240VMomentum CyclonicBAGLESS VACUUM3Safety InstructionsProduct ViewAssemblyOperationMaintenance and CareTroubleshootingCon
To maximize your cleaning performance and extend the life of your vacuum, it is very important that you empty your dirt container and check and clean
1. Unplug the vacuum from electrical outlet.2. The pre-motor filter protects the motor from dirt particles. It is located in the slide out tray unde
2134Check rotating floor brush and drive beltYou should check your vacuum cleaners rotating floor brush and drive belt regularly for wear or damage. Y
13www.bissell.comMaintenance and careReplace drive belt1. Unplug the vacuum from electrical outlet.2. With rotating floor brush removed from vacuum
14www.bissell.comMaintenance and careMaintaining TurboBrushThe TurboBrush should be checked regularly for clogs or debris wrapping around the brush.1.
15www.bissell.comMaintenance and careClearing clogsLow suction or poor pickup may be due to a clog in the vacuum cleaner. If you notice a change in th
16www.bissell.comMaintenance and careCleaning the upper tank1. Unplug the vacuum from electrical outlet. 2. Remove the dirt container as instructed
17www.bissell.comTroubleshootingVacuum cleaner won’t runPossible causes Remedies1. Power cord not plugged in 1. Check electrical plugVacuum cleane
18www.bissell.comBISSELL Consumer ServicesIf your BISSELL product should require service: In the UK, Australia, or New Zealand, call BISSELL Consumer
19Replacement parts Item Part No. Part Name1 32074 Style 7/9/10/12/14 Drive Belt (2-Pack)2 203-1297 Headlight Bulb3 203-1063 Crevice Tool4 203-122
2Thanks for buying a BISSELL vacuum 2www.bissell.comWe’re glad you purchased a BISSELL vacuum. Everything we know about floor care went into the desi
16www.bissell.com 800.237.769120www.bissell.comWarranty - BISSELL Momentum Cyclonic Bagless Vacuum©2007 BISSELL Homecare, IncGrand Rapids, MichiganAll
3www.bissell.com IMPORTANT SAFETY INSTRUCTIONSWhen using an electrical appliance, basic precautions should be observed, including the following:R
4www.bissell.comHandleTurboBrush™Power SwitchClean Filter Indicator (Select Models Only)Easy Empty™Dirt ContainerHeadlightHeight Adjustment KnobFoot
5www.bissell.comThe only tool you’ll need to assemble your vacuum cleaner is a Phillips screwdriver.Attach handle to vacuum1. Locate the handle and
Attach vacuum hose and tools1. Line up the tabs on the base of the Twist ‘n Snap hose with the corresponding notches on the hose collar as shown.2.
Handle positionsPress the handle release pedal, located on the lower left side of the vacuum, with your foot to place your vacuum into one of three cl
Clean filter indicator Select Models OnlyThe clean filter indicator tells you when the airflow in your vacuum is reduced due to dirty filters or a clo
Crevice Tool: Use in tight narrow spaces. Extension Wand: Use with desired attachment for a longer reach.Curved Hose Wand: Use with desired attachmen
Plus de documents pour Aspirateurs Bissell MOMENTUM CYCLONIC


Produits connexes et manuels pour Aspirateurs Bissell MOMENTUM CYCLONIC
 (8 pages)
 (12 pages)
© 2020, manymanuals.fr. Tous droits réservés | 0.106 s |
 Manymanuals.com
 Manymanuals.de
 Manymanuals.fr
 Manymanuals.it
 Manymanuals.pl
 Manymanuals.cz
 Manymanuals.es
 Manymanuals-pt.com
Commentaires sur ces manuels